Reno-amateur

First time home owner and renovator learns valuable lesson in home renovation: everything takes twice as long and costs twice as much as you expect. Follow our adventures as we gut, build, discover, despair and delight along the never dull road to renovation.

Tuesday, September 26, 2006

Cinderella Story


It's hard to believe, but we have been doing this house renovation for a year next month: October 2005. We are really in the home stretch now though.

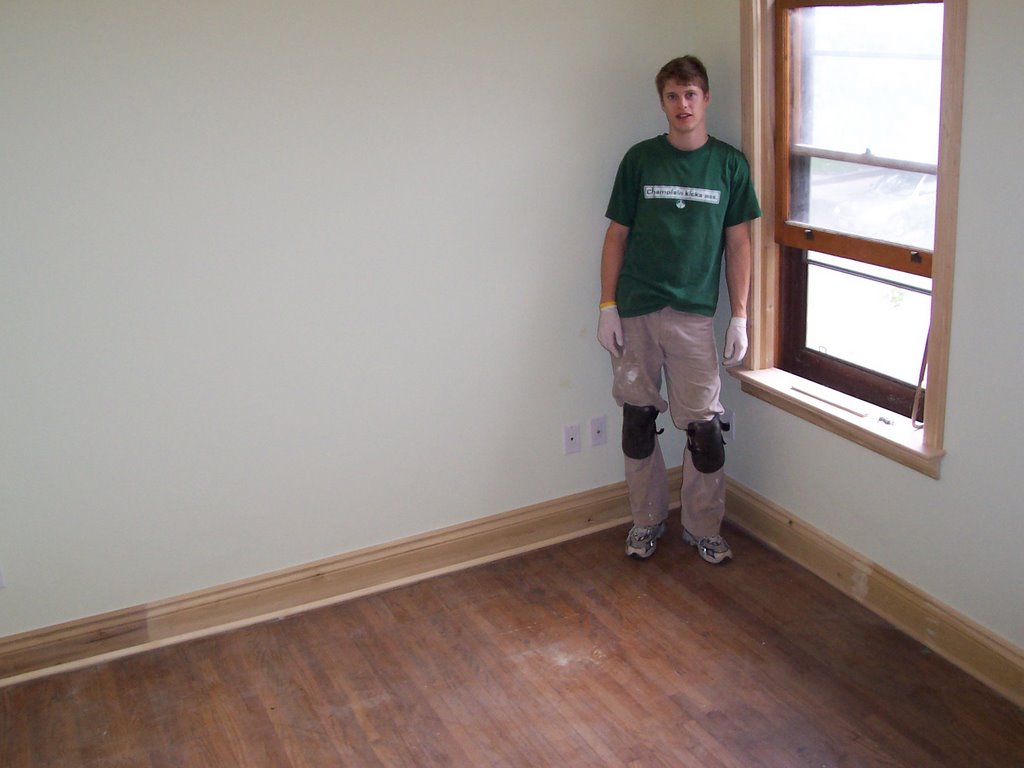
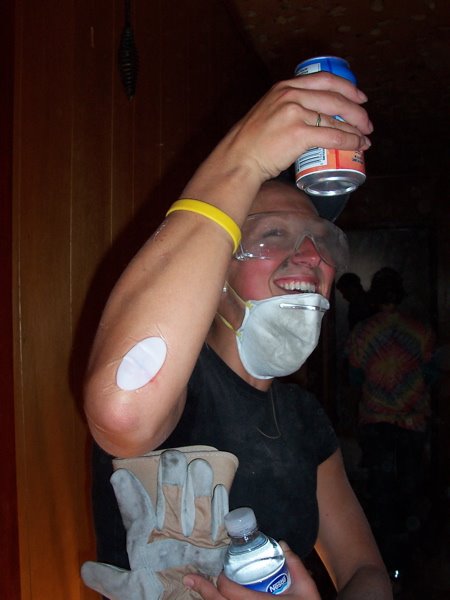
We took this weekend off, but the weekend before was dedicated entirely to getting our red oak floors upstairs cleaned up. Now I know how poor Cinderella felt, except we didn't have any evil step mother or ugly step sisters to make us feel bad. The gunk that came off the floors was punishment enough. So was the 15+ hours we spent on our knees. Kneepads help, but not that much and not after that much time on those very taken-for-granted joints!

Anyway, the floors had been sanded before, so weren't up for another go (too thin). We therefore were stuck with screening them or basically scrubbing the hell out of them with everyone's favourite caustic chemical TSP (trisodium phosphate) and these crazy pot-scrubbers-on-steroids, otherwise known as baseboard/utility pads and easily found online at www.toiletpaperworld.com (not kidding) or at Home Depot .

They really look great! Especially considering they were covered with dust, primer (from using a sprayer to prime all the walls and ceilings), sawdust and drywall dust. Next step is to polyurethane. We're considering using an oil based formula - apparently better for novices - more forgiving.

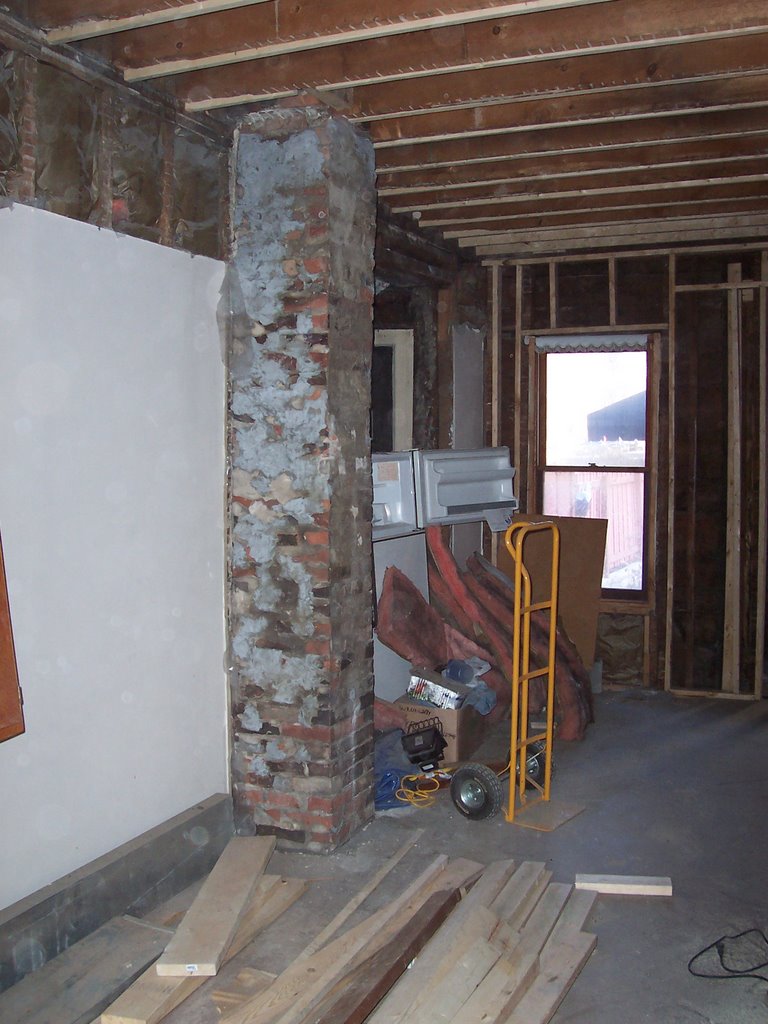
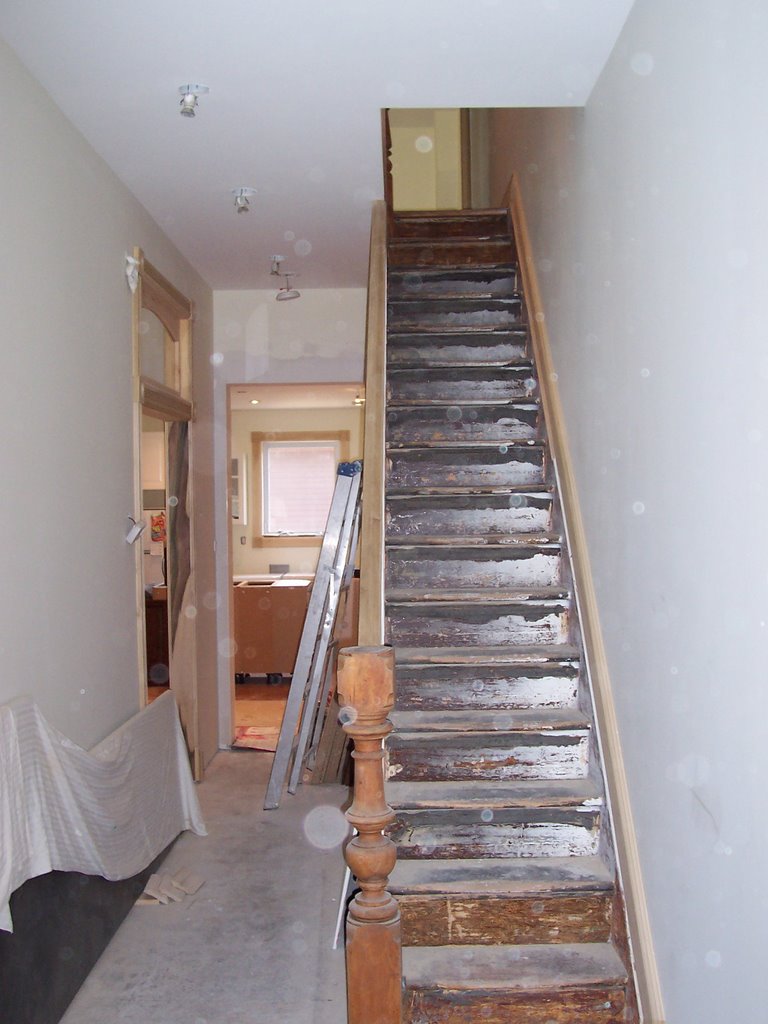
Here are some pics of the rooms we did (master b-room, guest b-room and hallway).

Friday, September 22, 2006

We Break for Weddings

We won't be doing much work on the house this weekend as we're off to Peterborough for a wonderful wedding. Phil and Betsey are getting married after many (how many???) years together. It's going to be low key and joyous and fun, a lot of what I'm missing in my life these days.

We welcome breaks like these to keep us sane and in touch with the world outside our own. We also are so happy to be going to Peterborough - Jamie has a wonderful group of friends, many cycling buddies and outdoor-lovin' folks, who he loves and misses because we don't get to visit very often (especially with home renos happening). I too love them and so much enjoy spending time with them, they are down to earth, genuine and like to have a good time.

Jamie has managed to put a few house things on the list though...we need to measure and purchase vent covers for the whole house. We are getting our ducts cleaned next week and that signals the beginning of the end to me. No more drywall dust and various other contaminents in the air. We wanted to do this before the furnace goes on for the winter.

So here's to weddings, clean ducts and going away for fun weekends with friends.

Monday, September 18, 2006

Kitchen Co-operation


As my father-in-law pointed out, I have not yet mentioned the kitchen at any great length. The primary reason for this was I couldn't find the pictures I took of the assembly and installation. But, they appeared, and so here's a little story about our IKEA kitchen.

We had all kinds of dreamy ideas of what we would do with the kitchen. Originally, we thought we wouldn't do anything at all, just leave it and live with it until we had the money to renovate - well - we couldn't and didn't. If it came down to only one or even two of the things that were dramatically wrong with it: cabinets, the plumbing the stove or the windows, well, we would have just kept it. But as you learn when you gut a house, these things never turn out the way you think they will. Everything had to be replaced. We had a leaky sink and old, old plumbing, drafty windows and an old stove, on top of it all, the cabinets weren't even real - they were shelves with doors screwed on to the front.

So it all went out to the dump and we started over. IKEA offered the best option for us because the price was reasonable and we wanted to install them ourselves (to save money). The only think we didn't do was to measure and install the countertops - we left that to the pros, who did it in about a day - it would have taken us a week. At least.

Jamie's family helped with the cabinet assembly - everything was delivered on a skid, packed flat in boxes. Robbie, Lucinda and Erica helped unpack and assemble and hang all the cabinets in one day (I had to go to my office to work - it was a Sunday!). Jamie and Robbie had them up and the kitchen pretty much complete by the time I came back. It was fabulous.

Thursday, September 14, 2006

Exhaustion


After nearly a year since taking possession of our money pit, we are tired. The feeling of being overwhelmed by the huge financial investment slowly dissipated and was replaced by the panic of sinking more of our finances into this fun house with slanted floors and walls. This coupled with the fact that we have sunk blood (our own and our friends), sweat (mostly Jamie's, family and some friends) and tears (mostly my own) into this house has left us feeling very tired - physically from the sometimes daily work visits and mentally - from the strain of feeling that this project will never end.

Hence, we are hiring painters to finish the trim. Though this will not mean we can move in, it will mean that we can continue to work on the things we still need to do ourselves like installing door knobs, finishing the kitchen and bathroom and figuring out what to do with the vestibule and the sketchy basement door. Oh, then there are window treatments and interior decoration to consider... It's looking like October may be a good month to move....but we'll see.

Ah, what a long, strange trip it has been. Nearly there though and what a happy day it will be.

Friday, September 08, 2006

Living/Dining

The biggest problem with the largest open space in the house was a decrepit chimney that stood between the living and dining rooms. We looked at covering it with drywall (cheap option), taking it down (expensive option) or covering it with another natural material - in this case - stacked slate (most viable option). It really was the best solution and it took a long time for us to find it. And I'm proud to say that we found it on our own, no interior designer or architect or engineer came up with a better, more affordable and visually interesting option. We did find it in a magazine, but the application was totally different. The product is called Erthcoverings and it's comprised of stacked natural stone tiles that are basically glued on to a flat surface - we did have to have concrete backer board bolted first to the original old chimney brick, but the tiles were glued on to that and they look great.

I guess the other big problem was a weird hump in the middle of the dining room floor - we didn't really ever figure out what caused it. Building a ledger board and cutting the joists so that they now rest on the board was the solution - recommended by a structural engineer. Probably had something to do with the freaky bay window fake foundation next to the hump. The best thing is you would never know it was ever there...unless you had a good look in the basement at the floor joists above.

Next and final step will be to install the hardwood flooring in this room. It's the last thing we'll do and we're kinda counting down the weeks to that event - it will really finish off the first floor.

Thursday, September 07, 2006

Get into the Groove


Another original feature of our 100+ year old home is a tongue and groove wall beneath the stairs. It's constructed of pine and was covered up with the same wood paneling that covered the rest of the walls in the house. When we uncovered it we thought we'd strip the stain and repaint.

Four layers of paint, chemical wood stripper, blistered hands and scraping later, the wall was clear and the original pine boards were exposed. Stripping the paint was not easy with the grooves and it was a messy, messy job...but with the help of some steel wool and sanding, they look nearly the same as the new closet doors that Robbie built from scratch to cover the closet that is now under the stairs. Pictures here of the wall before stripping with the little silly rectangular closet door and mid-way through stripping with the new closet doors hung.

These pictures show the original balustrade and banister that we had to replace running along the staircase.

Wednesday, September 06, 2006

During and During - Stairs


I so deeply wish that the title of this post was Before and After. But it's not. Nope, it's not even close. Well, I guess it's closer than it's ever been before. Indeed, we are really enjoying the fact that we are seeing some progress. However, we are not done.

The fact that we have come so far was really driven home when I unearthed some printed photos taken sometime this winter. So this is the first in a series of posts entitled During and During.

This pair of shots is of the stairs just after they had been gutted, and after the drywall had gone up - the newel posts are stripped down to the bare wood in the second shot (on the right). Got to love the smell of Poly Strippa while I did those babys. We have ball-tops that were custom made for them by Century Porch Post so that we were able to at least keep one part, if not all of the original trimwork. We are still in the process of stripping the black gunk off of each tread and riser to prep for paint.

I love the old curtain hanging behind Jamie in the left shot - probably there to "protect" the kitchen. HA!

What you cannot see are the balusters that, though made of lovely maple, were covered with thick, old, chipped paint and needed to be stripped as well and also doubled in quantity to meet code regulations - less than 4 inches apart. As well, the banister had been hacked away, much like the ball tops and was beyond repair. These both would have to be fully replaced.